If you’re a business looking to create custom shirts with vibrant, long-lasting designs, direct-to-film (DTF) printing is a technology worth exploring. At Spencer Printing, we know that successful DTF projects require more than just great artwork—they demand careful planning, communication, and attention to detail from concept to delivery.
This step-by-step guide will walk you through the practical process of DTF shirt printing, ensuring you get outstanding results every time.
Step 1: Crafting Your Shirt Design
Your journey begins with the design phase. Start by defining your vision—whether it’s for a company event, branded merchandise, or a special promotion. High-resolution artwork is crucial for DTF printing, so ensure your files are at least 300 DPI and in a compatible format such as PNG with a transparent background.
Detailed specifications matter: include exact color values, placement instructions, and preferred sizing for each shirt type. The more information you provide at the outset, the smoother the production process will be.
If you need help preparing your artwork or have questions about file requirements, Spencer Printing is always available to assist. Collaborating early with our experts can help avoid costly revisions and delays down the line.
Step 2: Reviewing and Approving Proofs
Once your design is submitted, the next step is proofing. Our team will generate a digital or printed sample (proof) of your design as it will appear on the shirt. This is your opportunity to review placement, color accuracy, and sizing before full production begins.
Take your time with this stage—double-check all elements for accuracy. If any adjustments are needed, communicate them clearly and promptly. Approving the proof means you’re satisfied with how your design will look on the final product.
Step 3: Coordinating Timelines and Budgets
Planning is essential for a successful DTF project. Discuss your timeline with your printing partner early on—consider event dates, shipping times, and any potential bottlenecks. At Spencer Printing, we recommend allowing extra time for larger orders or complex designs to ensure every shirt meets your standards.
Budgeting is another key factor. DTF printing is cost-effective for both small and large runs, but factors such as the number of colors, design complexity, and shirt quality can influence pricing. Be clear about your budget constraints and production goals from the outset. Our team will work with you to find solutions that balance cost and quality, ensuring you get the best return on your investment.
Step 4: Preparing for Production
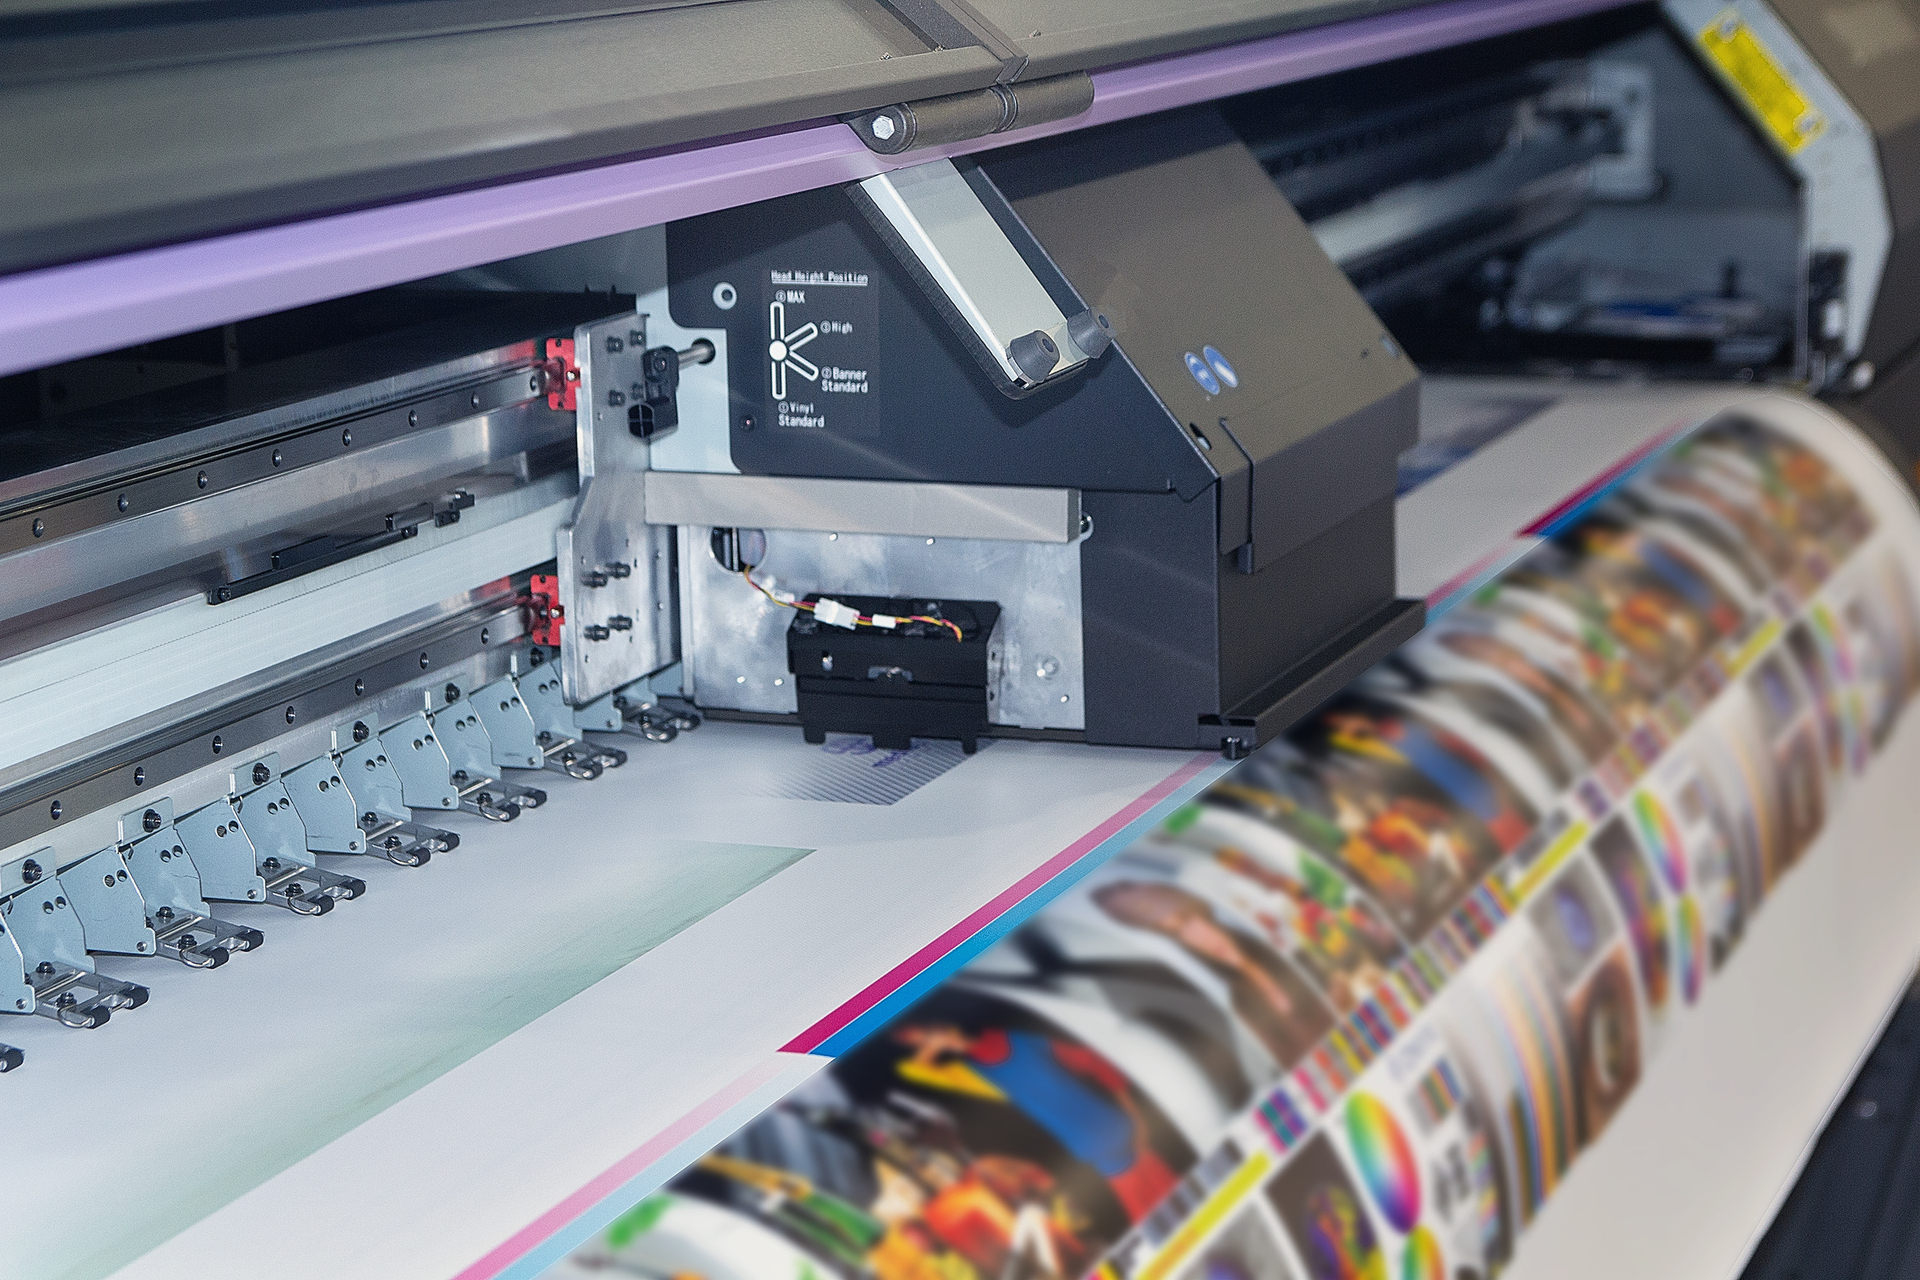
With your proof approved and logistics sorted, the production phase begins. DTF printing involves several steps: printing your design onto a special film, applying adhesive powder, curing the film, and finally transferring the image onto your shirts using a heat press. Each stage must be executed with precision to achieve vibrant, durable results.
Maintaining a clean, controlled environment is critical during production. Any dust or debris can impact the final print quality. Our facility is equipped with advanced DTF machinery and rigorous quality controls to ensure every shirt passes inspection before moving to the next stage.
Step 5: Passing Quality Control and Final Checks
Quality assurance is not a one-time event—it’s an ongoing process throughout DTF production. At Spencer Printing, we conduct multiple inspections, checking for color consistency, sharpness, and proper adhesion on each shirt. Many print buyers cite quality control as their top priority when choosing a print provider.
Our final checks include verifying shirt sizes, inspecting seams and hems for defects, and ensuring that every print matches the approved proof. By the time your shirts are ready for delivery, you can be confident they will meet—and exceed—your expectations.
Step 6: Handling Delivery, Follow-Up, and Feedback
Once production is complete, your custom shirts are carefully packed and shipped. We provide tracking information and maintain open lines of communication so you always know the status of your order. After delivery, we encourage you to inspect your shirts and share your feedback. Your input helps us continually improve our processes and guarantees your satisfaction with every project.
If you need reorders, additional sizes, or have new design ideas, our team is ready to support your ongoing branding efforts.
Exploring Why Detailed Specifications Matter
Providing precise design specifications is the foundation of high-quality DTF printing. Ambiguous or incomplete instructions can lead to misunderstandings, production delays, or unsatisfactory results. Clear communication ensures your vision is realized exactly as you imagined, helping avoid unnecessary revisions and extra expenses.
For businesses with recurring orders or evolving branding needs, maintaining a centralized record of approved designs and specifications can streamline future projects and promote consistent brand identity.
Keeping Your DTF Projects On Track
Direct-to-film printing offers businesses an efficient, versatile way to produce standout apparel. By following a structured, step-by-step process—starting with detailed design submission and continuing through to final quality checks—you set your project up for success. At Spencer Printing, we combine state-of-the-art technology with personalized service to make your shirt printing experience seamless and rewarding.
Ready to get started? Contact us today to discuss your next custom shirt project, and discover the difference that expertise, communication, and quality can make for your brand.