How to Prepare Your Files for Perfect Printing
A great print job starts with a great file. This guide will walk you through the essential steps to ensure your design prints exactly as you envision it.
Proper file printing preparation is the foundation of professional print quality results. At Spencer Printing, we've seen how attention to detail during the file printing prep stage can make the difference between a good print job and an exceptional one.
Our comprehensive file printing preparation guidelines have been developed through decades of experience to help publishers avoid common pitfalls that can delay production or compromise quality. Whether you're preparing files for your first book or your fiftieth, following these file printing prep standards ensures smooth production workflow and delivers the crisp, professional results your project deserves.

Your Print-Ready Checklist
Before you send your file, make sure it meets these five key requirements for the best possible result. We explain each one in detail below.
Correct Dimensions & Bleed: Your file is sized correctly with a 0.125″ bleed on all sides.
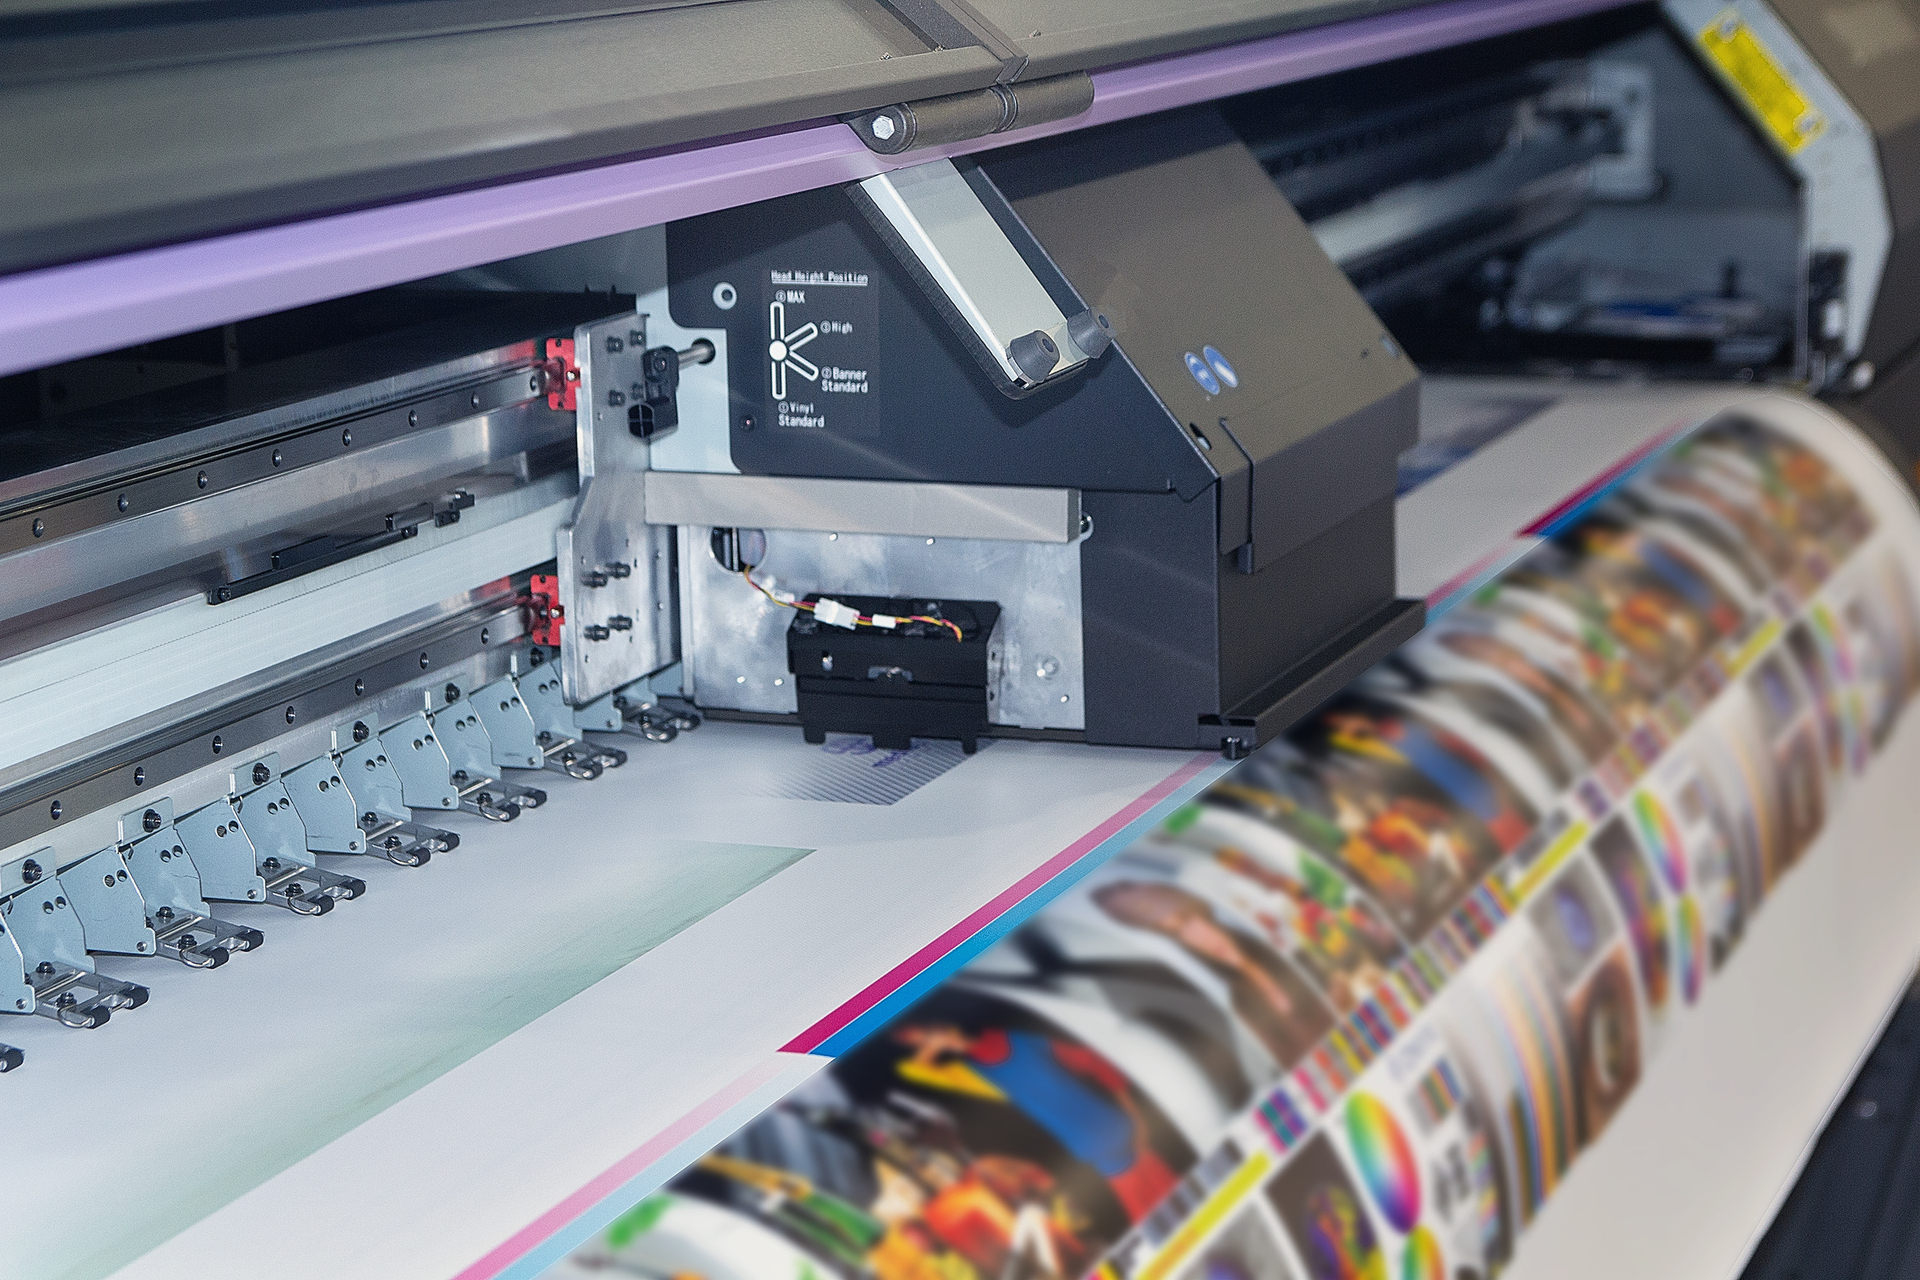
High-Resolution Images: All images are set to 300 DPI for crisp, clear printing.
CMYK Color Mode: Your document’s color mode is set to CMYK, not RGB.
Fonts Outlined or Embedded: All fonts are converted to outlines or embedded in the final file.
Exported as a PDF: Your final, print-ready file is saved as a high-quality PDF.
Print Prep Importance
These file printing preparation requirements might seem detailed, but each step serves a crucial purpose in achieving optimal print quality. Our prepress team reviews every file using these file printing prep standards to catch potential issues before they reach the press.
When files arrive properly prepared according to these guidelines, we can focus on delivering exceptional print quality rather than troubleshooting technical problems. Remember, investing time in thorough file printing preparation on the front end saves both time and money during production, ensuring your books print perfectly the first time and meet your quality expectations.
A Detailed Guide to Each Step
The file preparation guide helps ensure your files are print-ready, reducing errors, avoiding delays, and maintaining high-quality print results.
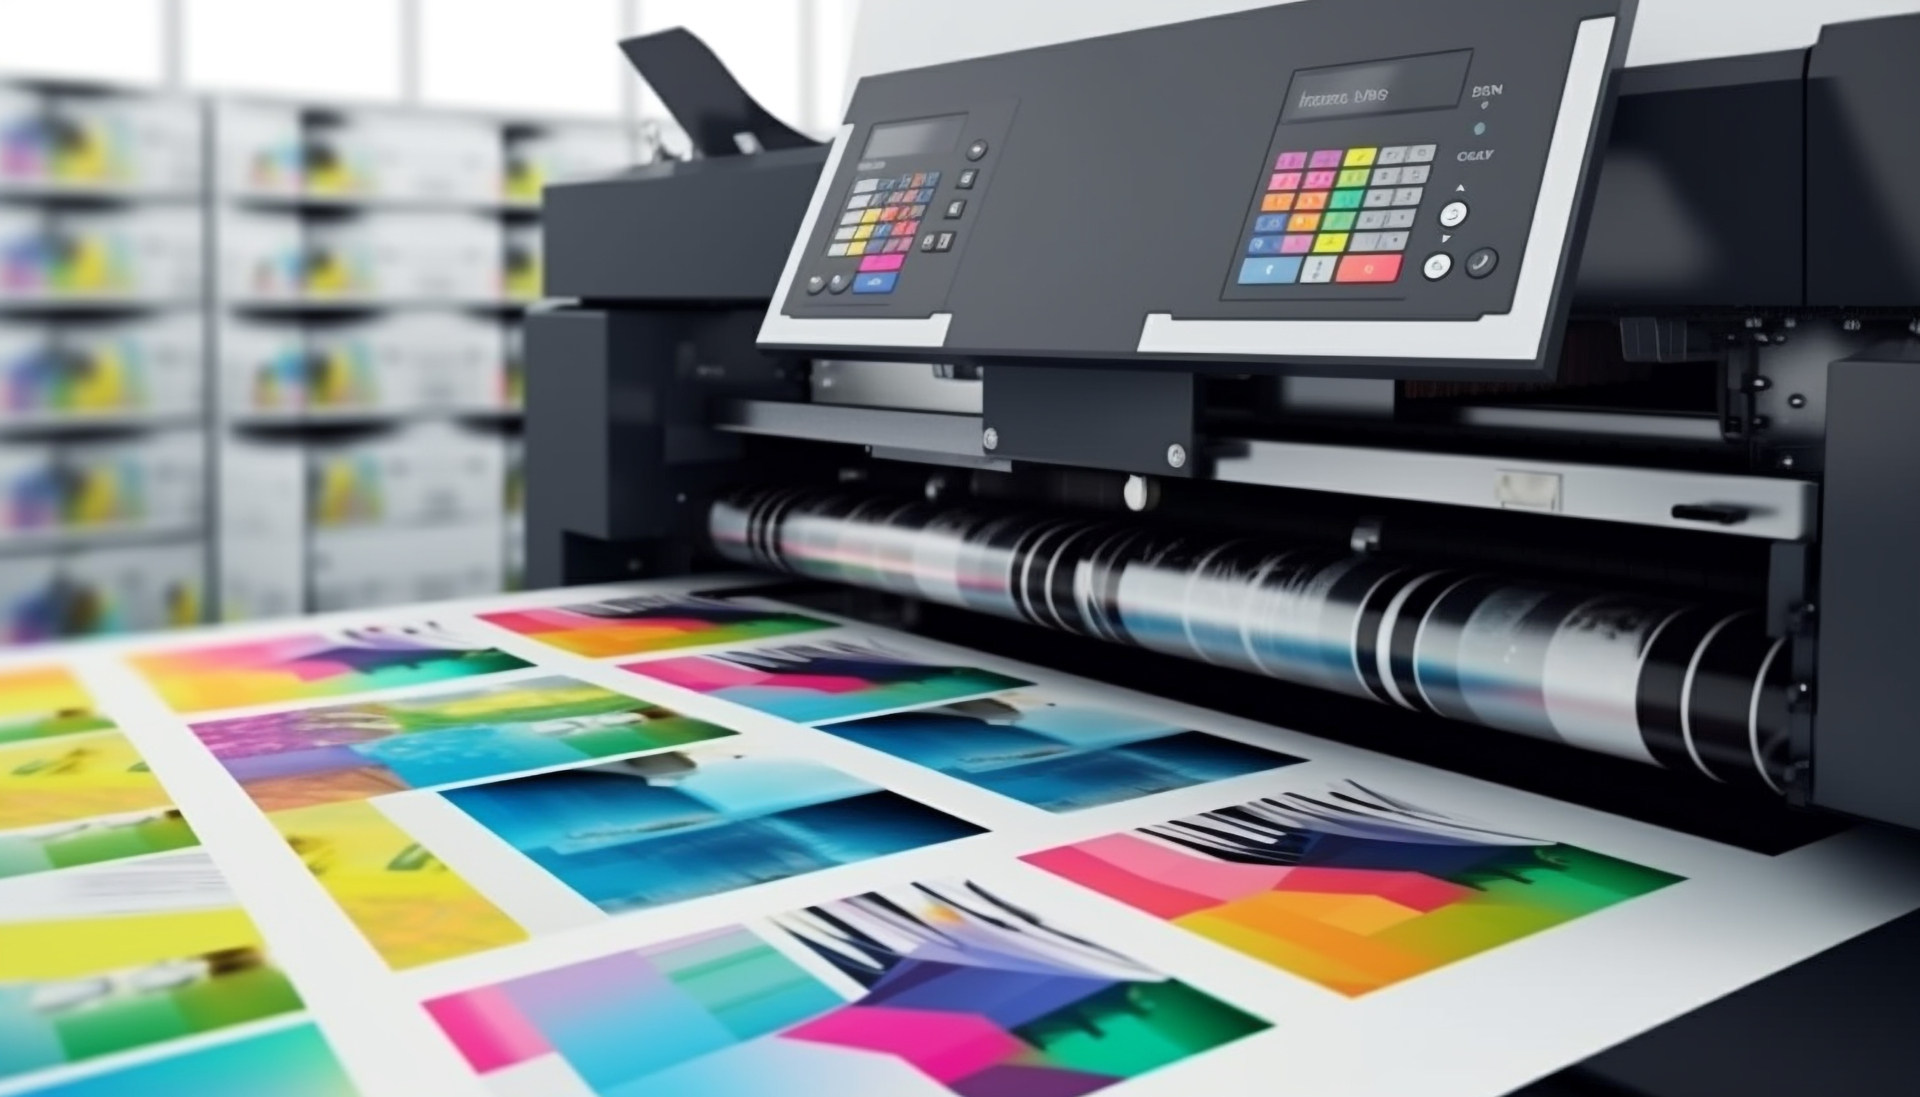
High-resolution PDF files with proper margins, bleeds, and CMYK color settings are recommended for accurate and professional printing.
Images should be at least 300 DPI to ensure clear and sharp printing without pixelation or quality loss.
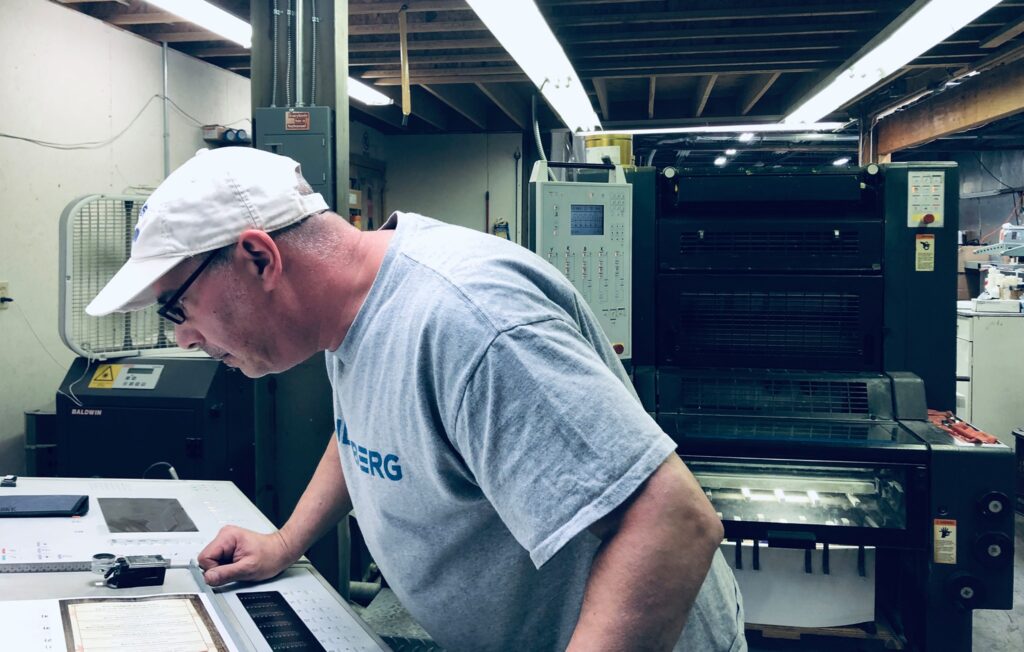
The team will review your file and suggest corrections or adjustments before moving forward with the printing process.
Yes, proper bleed and margins are necessary to ensure clean trimming and avoid unwanted white edges in the final printed product.
Files Ready? Let's Get Started.
Following these guidelines is the best way to ensure a perfect print job.
Still have questions?